This tutorial will show you how to create and import your own, custom textures into the Awesomenauts Map Editor.
importing textures into the map editor
You can use any custom textures but they have to follow the following rules:
- The size of the image must be dividable by 4. (400 x 12 would work but 401 x 12 wouldn't)
- The format of the file must be DDS (See "Converting a texture to DDS")
- Supported DDS settings are: DXT1 (limited alpha/transparency support) and DXT5 (full alpha/transparency)
- Mipmapping must be turned OFF
- It's recommended to not make textures larger than 2048x2048 to support older videocards.
Once you have your texture in the DDS format, place it in the Texture folder which is located at: SteamApps/Common/Awesomenauts/Modding/OwnMods/NameOfMod/Textures/
The texture should appear in the asset browser. If it doesn't try to reload your map. If it still doesn't appear, be sure that your file is dds file with a size dividable by 4.
You can then select it in-game "(mod) " will automatically be added in front of the name of your texture.

converting a texture to dds
Using Paint.net
Paint.NET is free image and photo editing software for PCs that run Windows. You can download it here
First open Paint.NET and drag and drop the texture you want to use in.
- Then select File > Save as...

.png)
- You will have to select the file type, select "DirectDraw Surface (DDS)"

.png)
Don't forget to move the texture in the right folder after saving it!
Using photoshop
First you will need the Nvidia DDS exporter for PhotoShop from: DDS Tools Then create your texture with a resolution dividable by 4 (for example 8x12, 64x68, 1000x40).
Save as DDS:
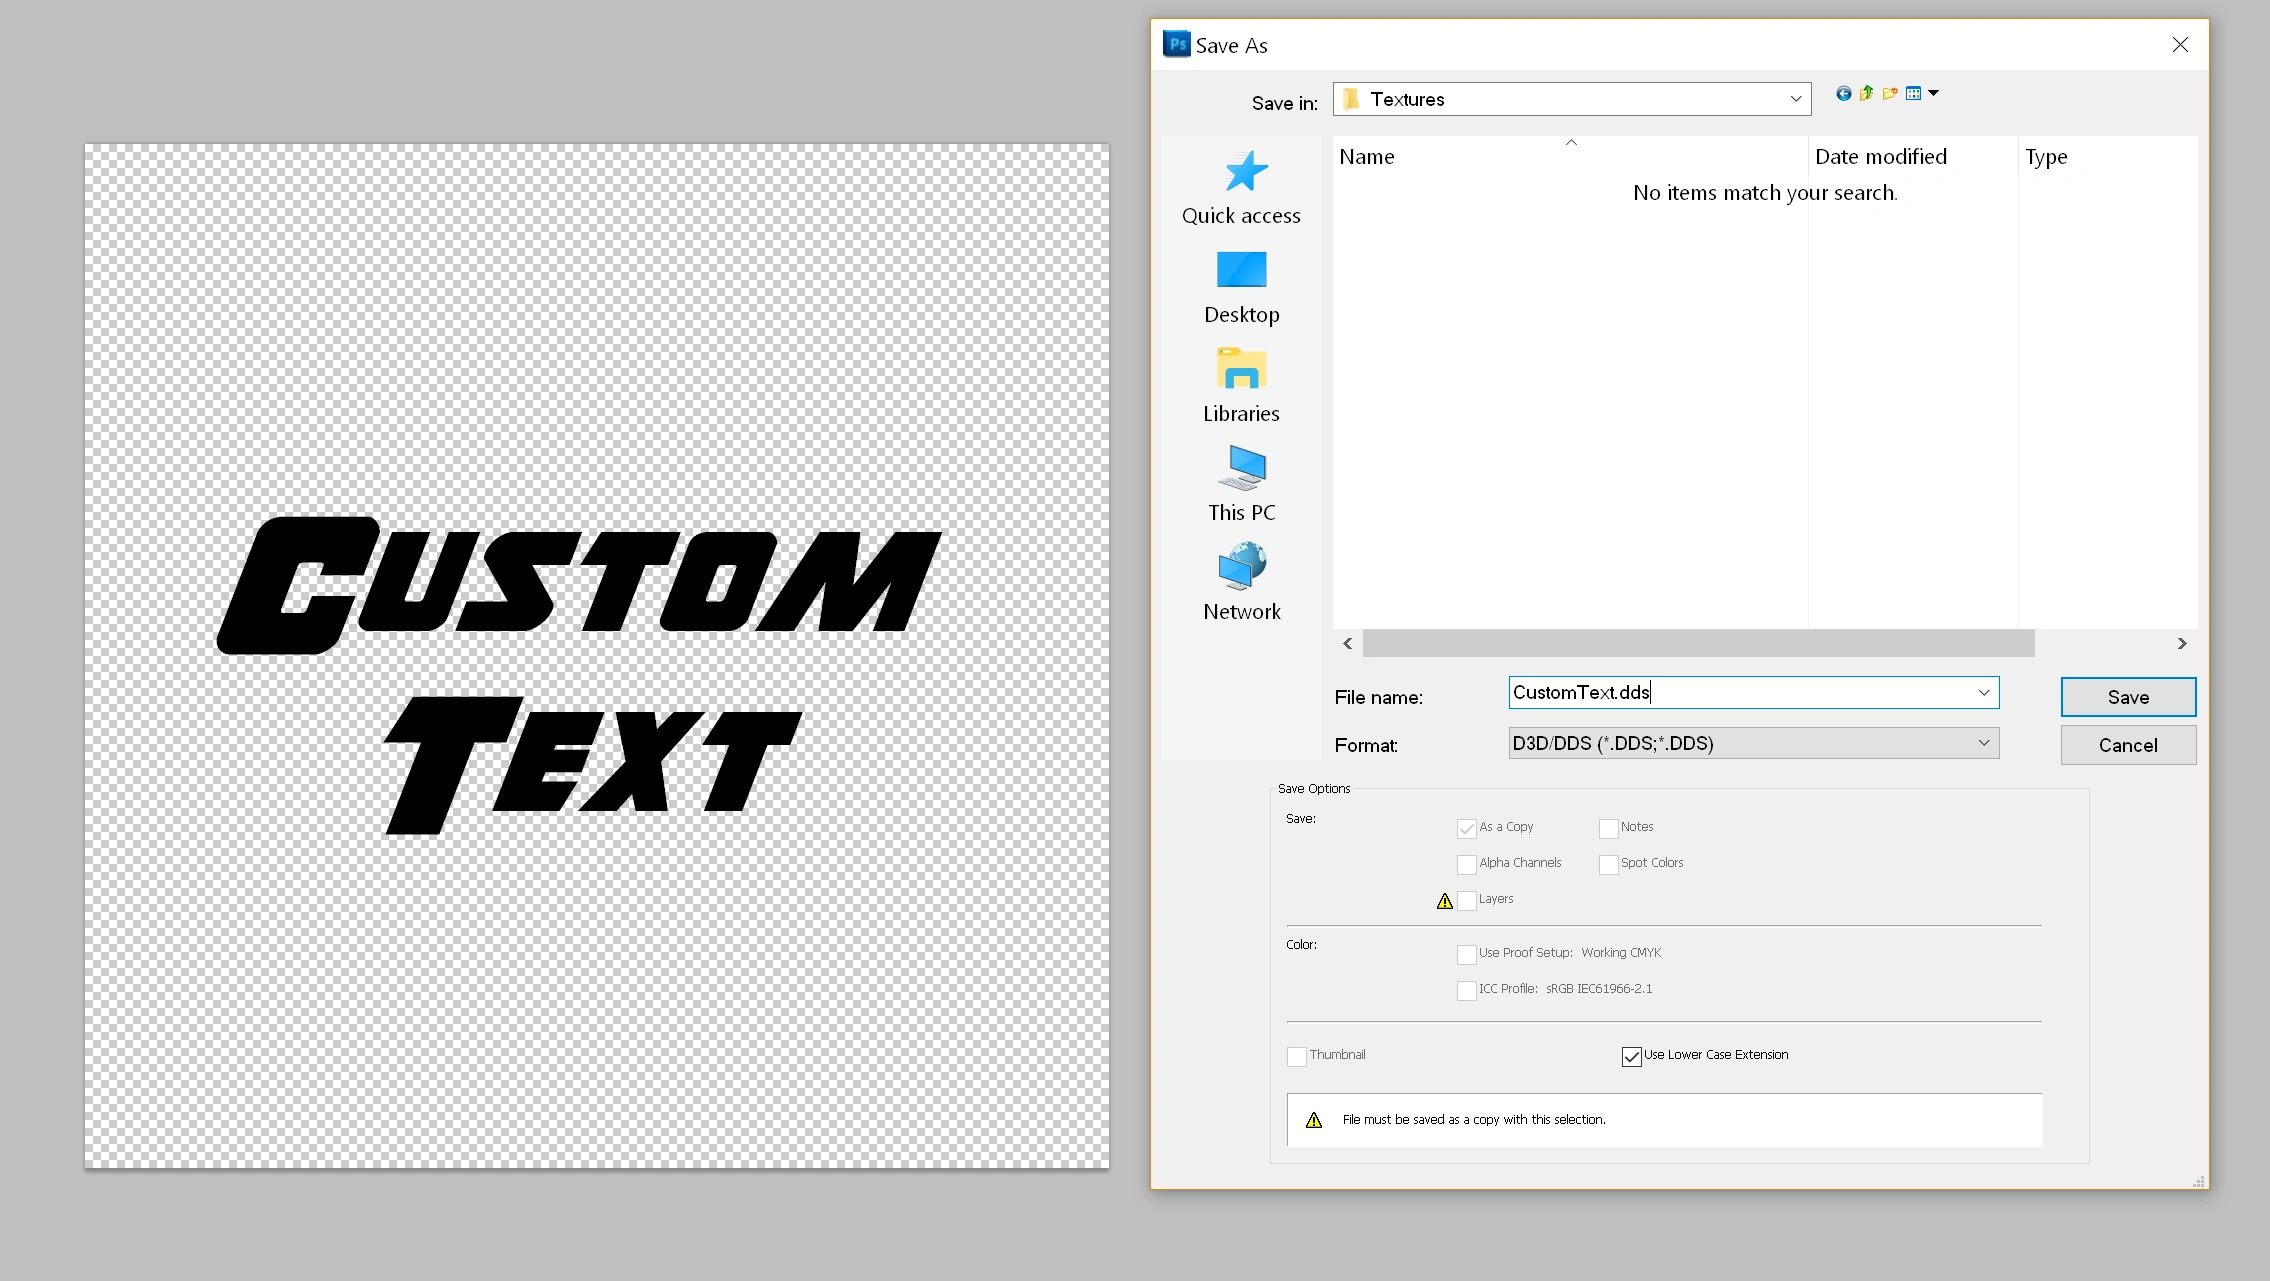
- Export with these settings to have an Alpha Layer:

- Export with these settings for no Alpha Layer:

Don't forget to move the texture in the right folder after saving it!